AWARDS
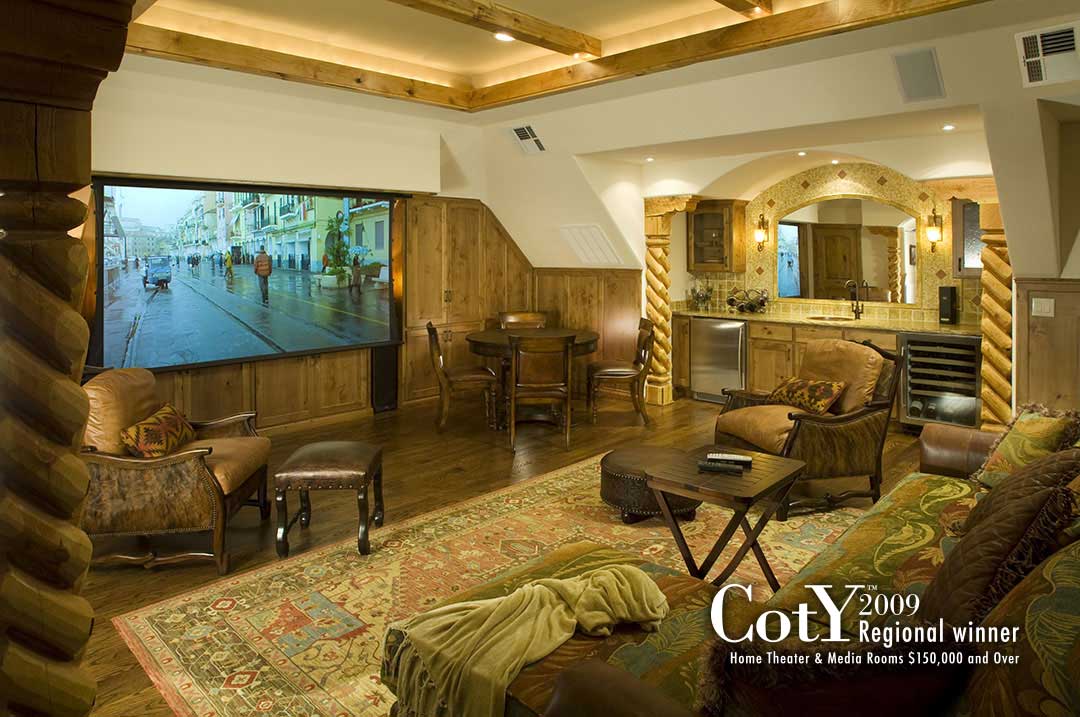
NARI CotY 2009 Regional Winner
Home Theater & Media Rooms – $150,000 and Over
PROJECT GOALS & HOW THEY WERE ACHIEVED
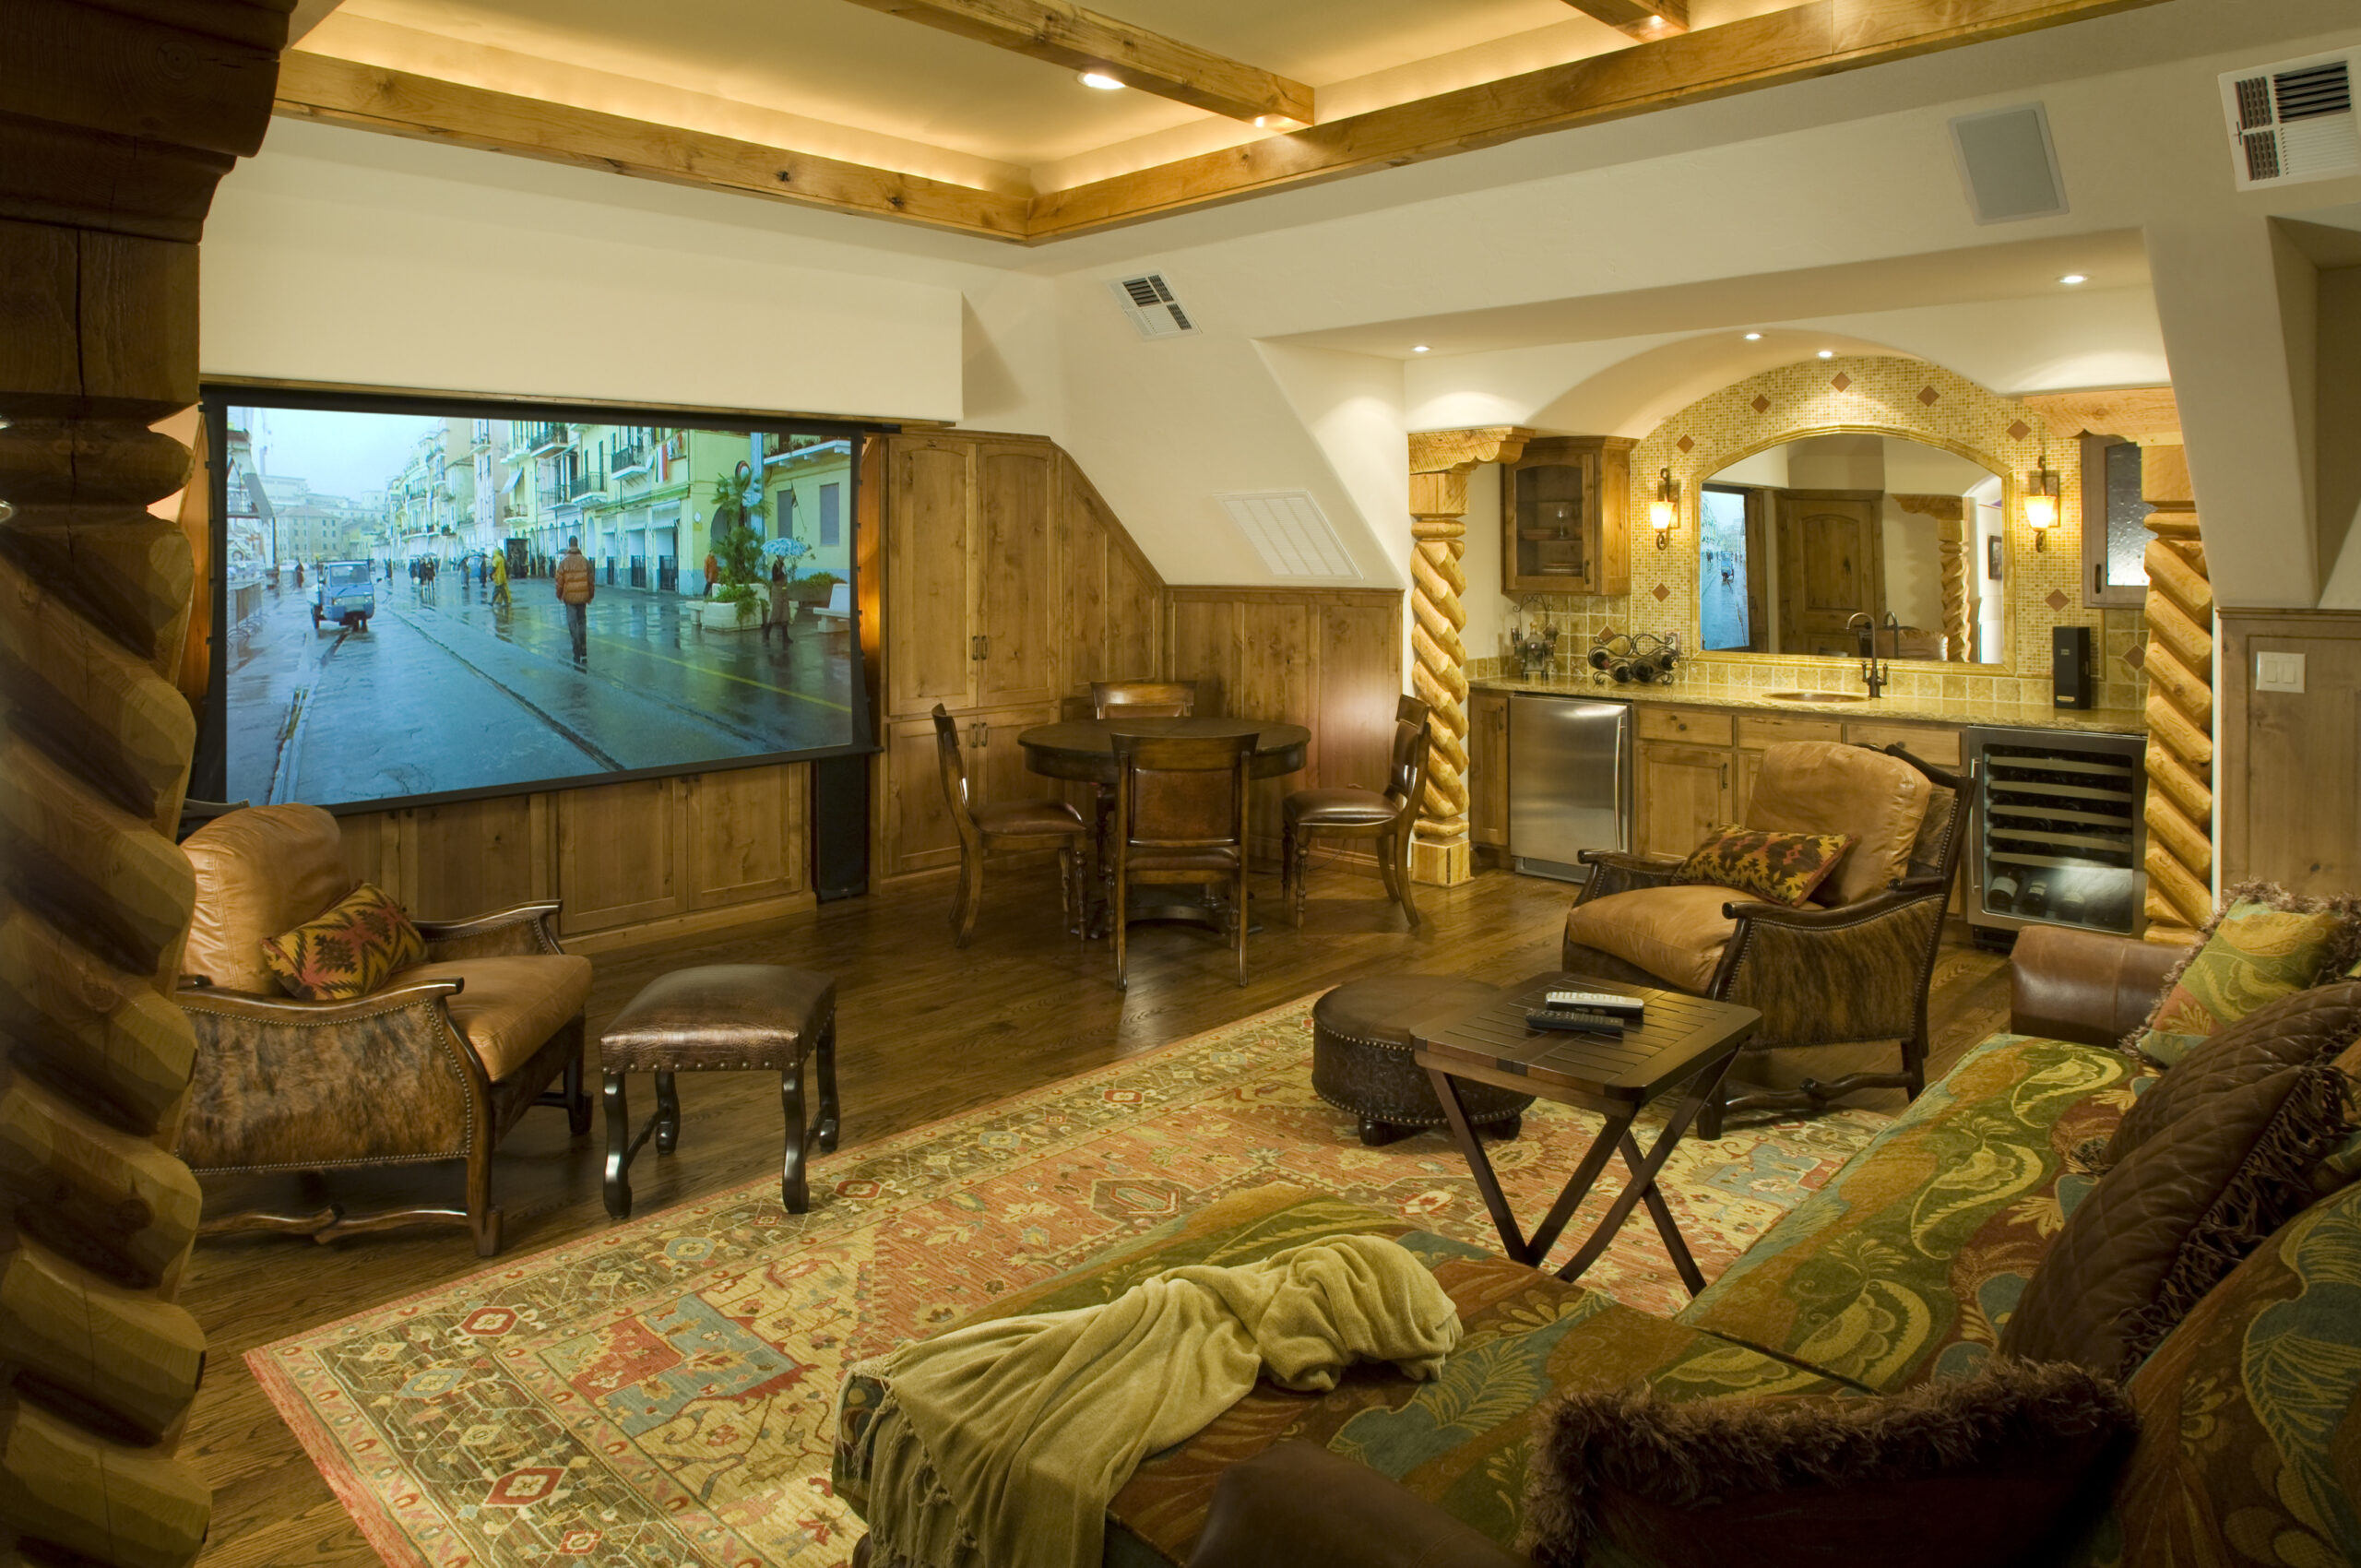
The client had four main needs. 1) To have a wet bar in the media room. 2) To be able to access the new media room above the garage from the kitchen area below (adjacent to the laundry room). 3) To maintain a workbench in the garage if the new staircase displaced the existing workbench and, 4) To reconfigure the laundry room to be more efficient and to include a pool bathroom. The clients also did not want the room to feel like a media room, but more like a family room.
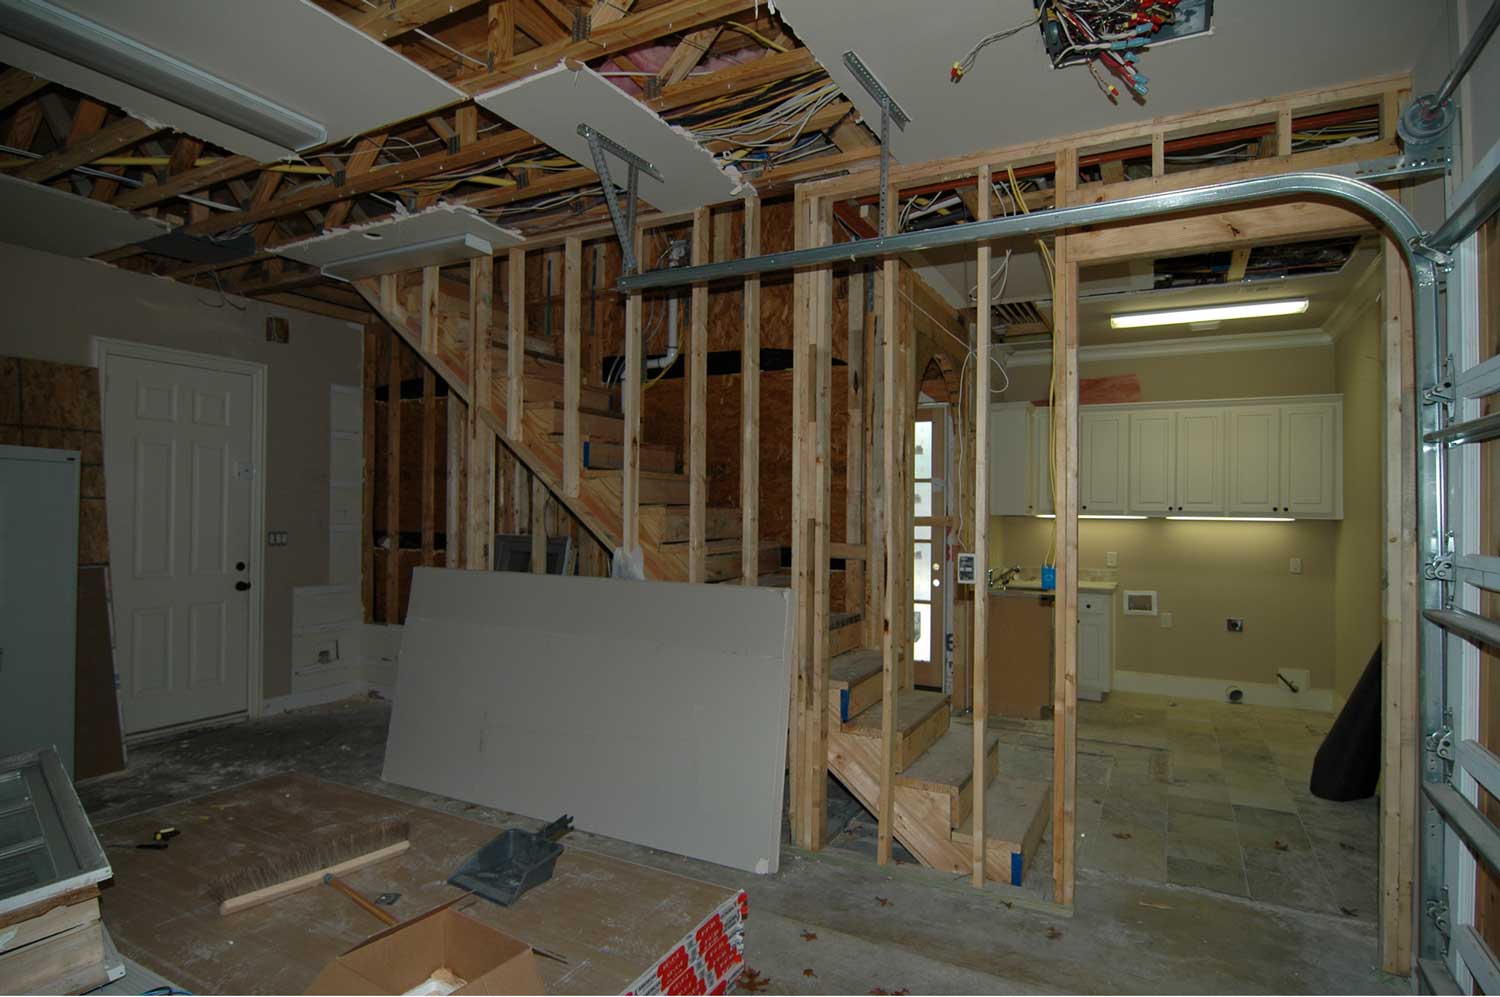
We started by designing a straight staircase starting from the laundry room, up over the existing workbench to the media room. This required that we relocate and add space in the garage for the new workbench. This had an added benefit of giving us the foundation for the wet bar directly above the new workbench, saving money and floor space for the media room.
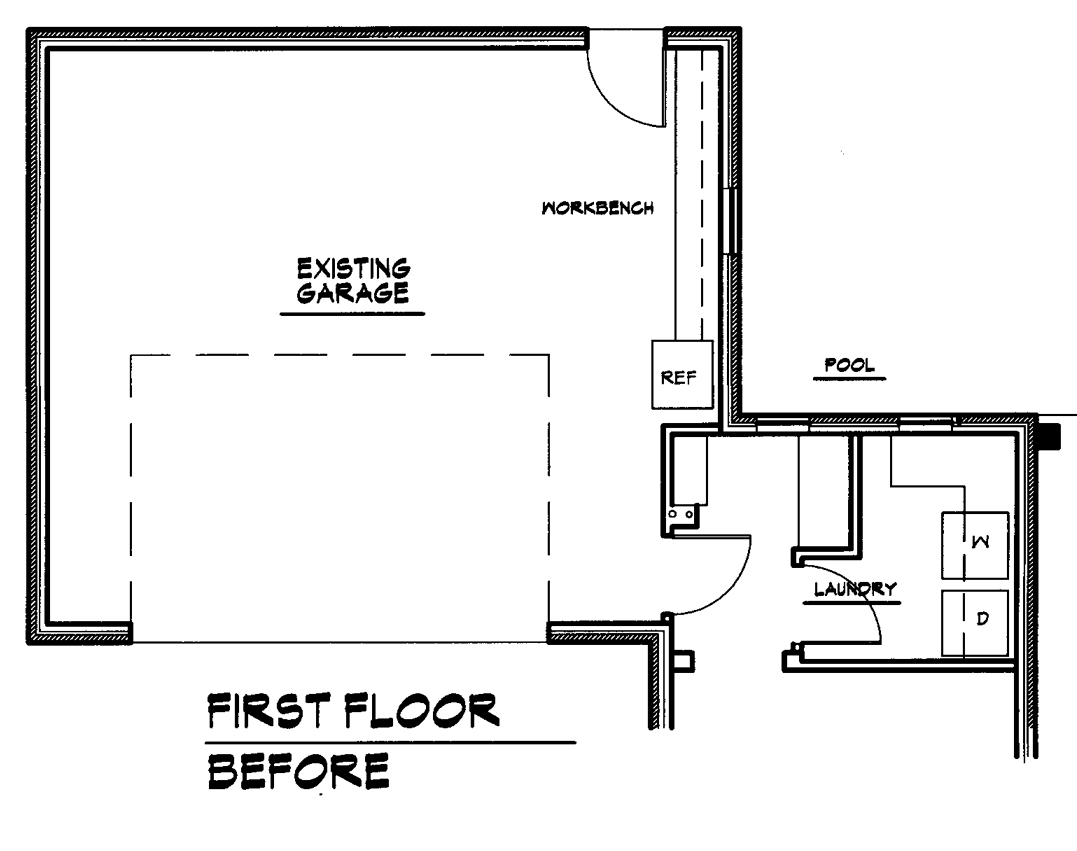

By adding the bar over the workbench and keeping the staircase in the location of the old workbench, we were able to provide the shortest path from the kitchen up to the media room while maintaining the maximum amount of functional space.


ENHANCING THE EXISTING STRUCTURE’S FUNCTIONALITY
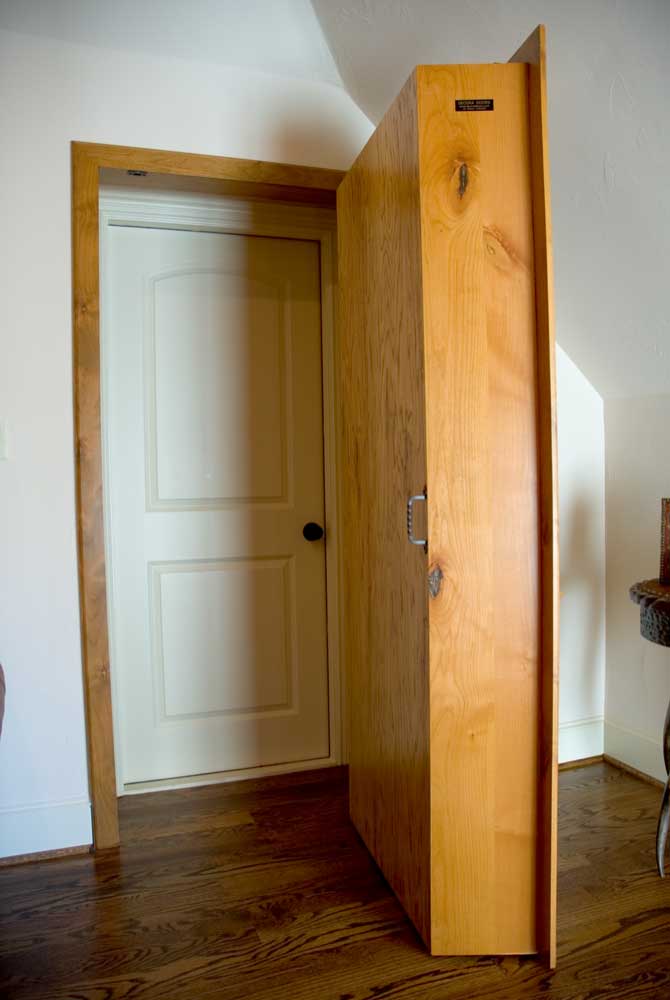
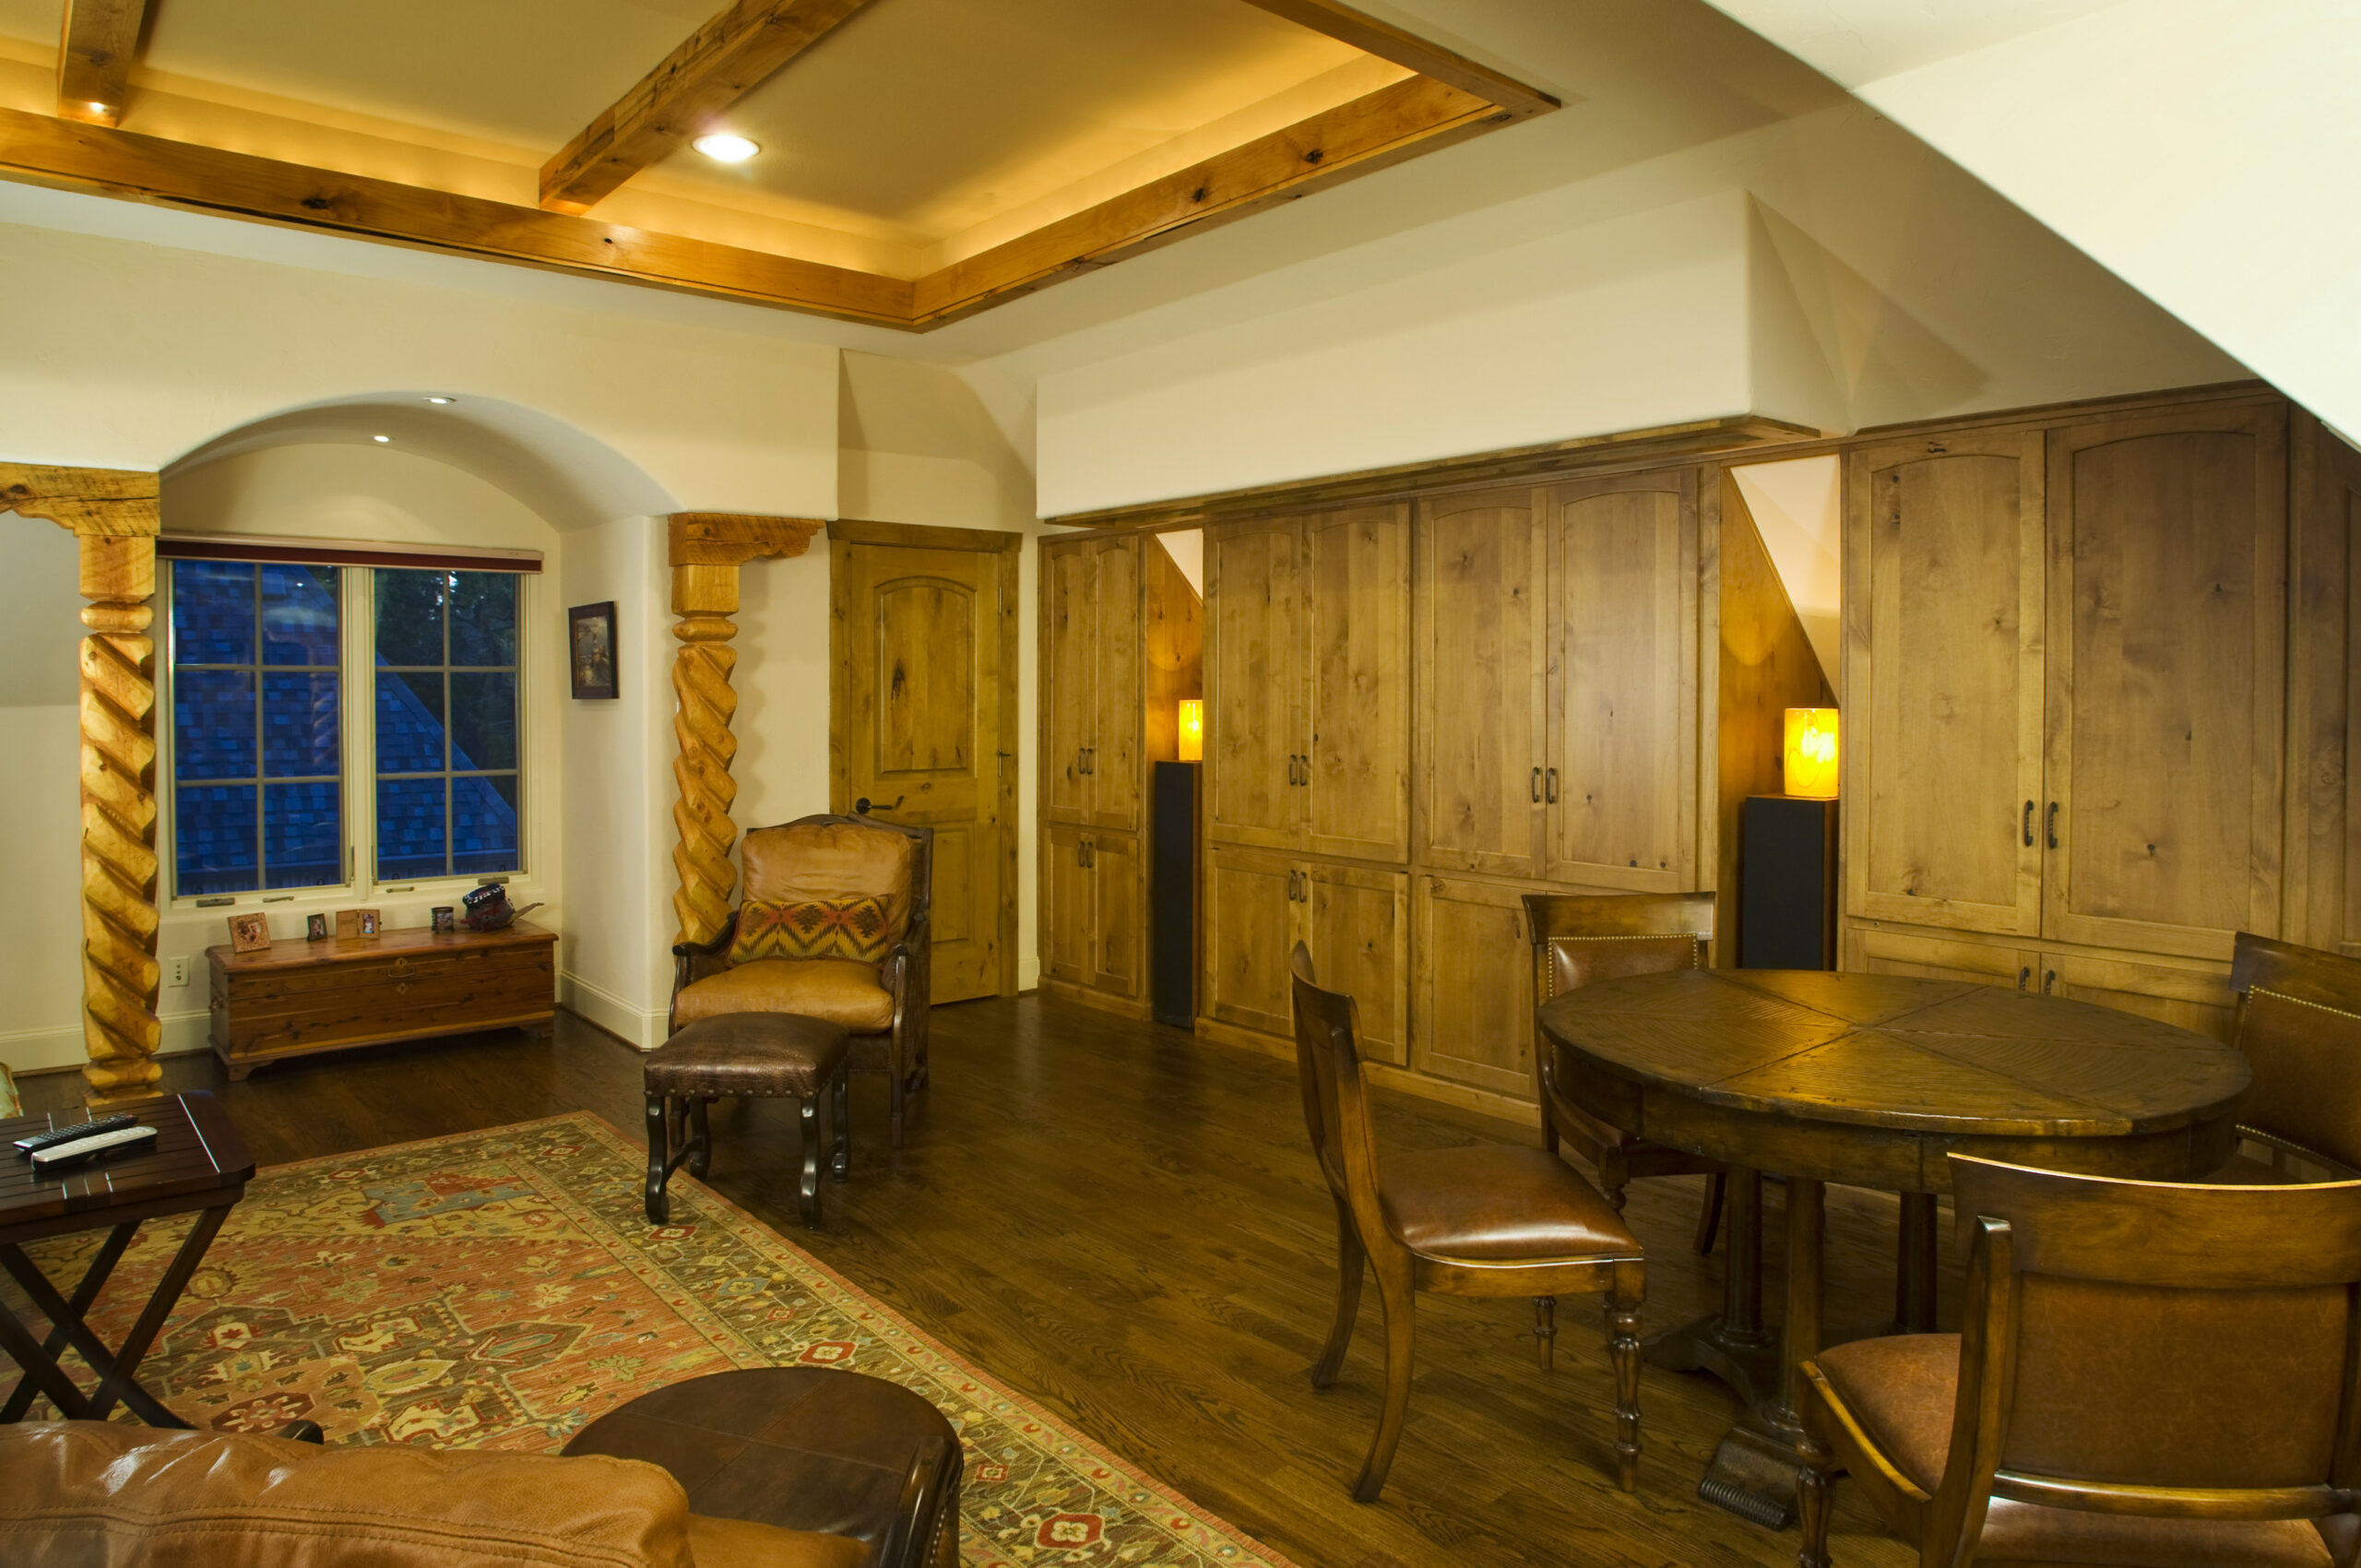
The home had an existing door from the 2nd floor office to the new media room, but the owners did not want that to be the primary means of access. They also wanted a built-in bookcase, so the solution was to install a swinging bookcase that functioned as a door. This allowed for egress at both sides of the room.

The homeowners chose oak flooring to match the remainder of the house and provide a level of durability against the two small children, as well as providing a healthy and clean environment. An area rug and sound insulation provided acoustical control.
We achieved even-illumination by installing ceiling can lights, wall sconces and a continuous strip of zenon lights in the raised coffered ceiling hidden behind a strip of alder trim to match the cabinetry, doors and trim. We located spot halogen cans in all barrel vaults to provide more light in areas where people would congregate. Outlets were provided in the speaker niches so the owner could install some decorative lamps.
ENHANCING THE EXISTING STRUCTURE’S AESTHETICS
Although limited by the structure of the existing space above the garage, we wanted to provide a high level of detailing throughout the space. The owner chose a Southwest style with rough pine columns flanking both sides of the room and an adobe wall texture and color. The columns are functional as they support the roof in both locations. Barrel vaults are adjacent to the columns to emphasize the repetition and symmetry. The ceiling in the staircase also repeats the alder/zenon light cove with a barrel vault, although the owner opted to faux-finish the ceiling in the stairs for contrast.

Evidence of Superior Craftmanship
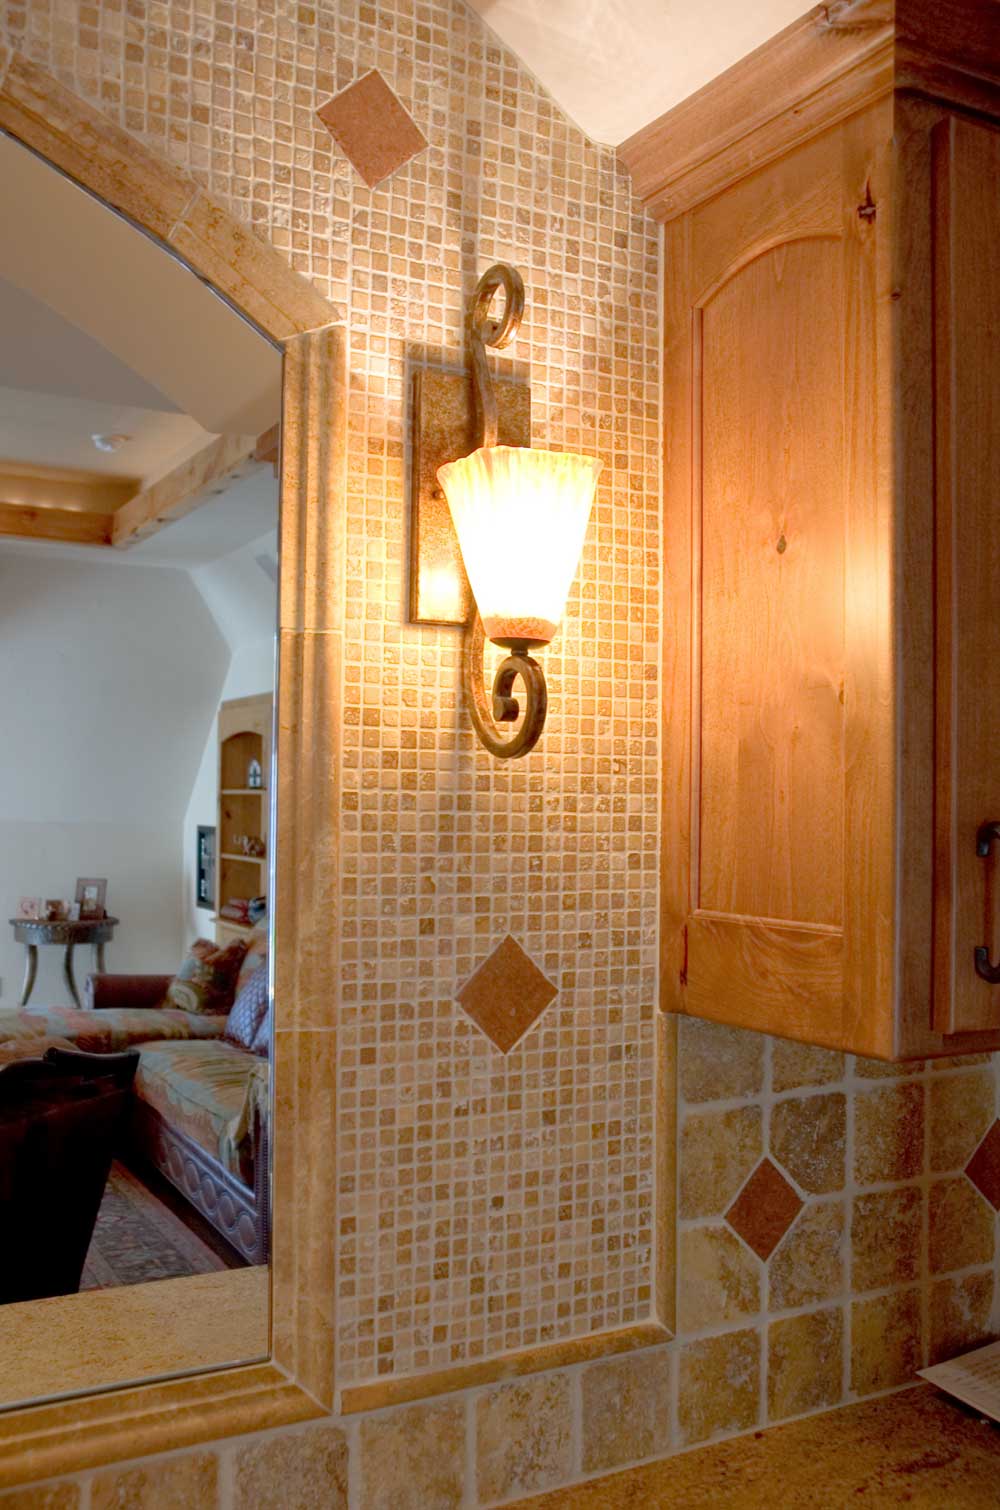
The focal point in the media room (when the TV is not in use) is the wet bar. We used tumbled travertine for the field tile and accented with a travertine mirror molding with red accents to also keep with the Southwest theme. A hand-hammered copper sink finished off the look.

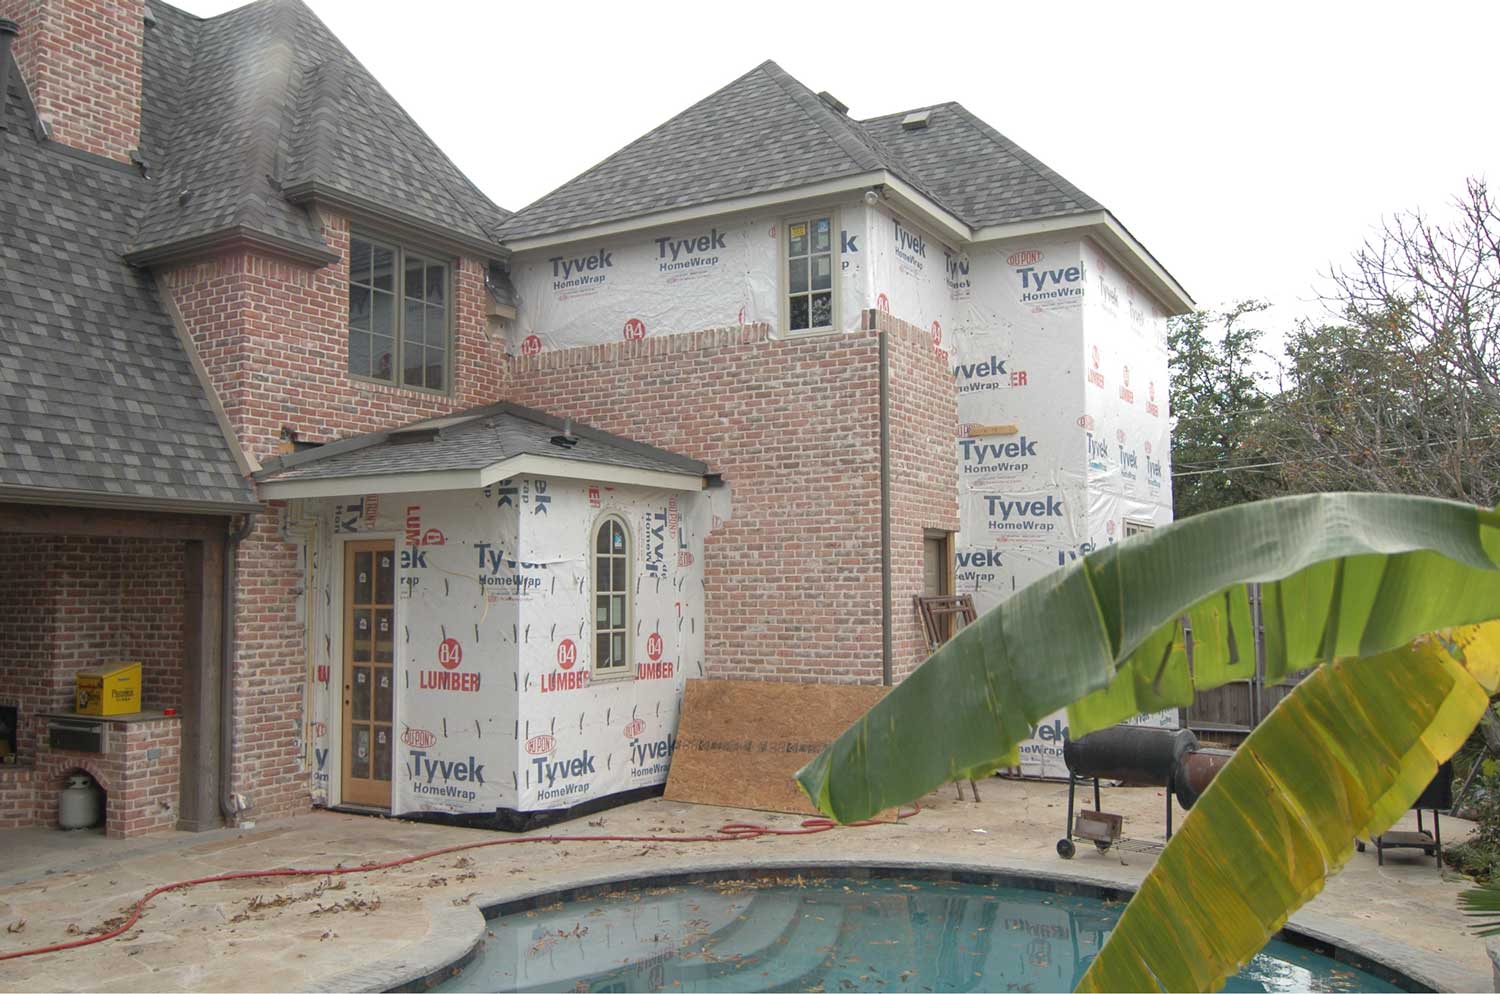
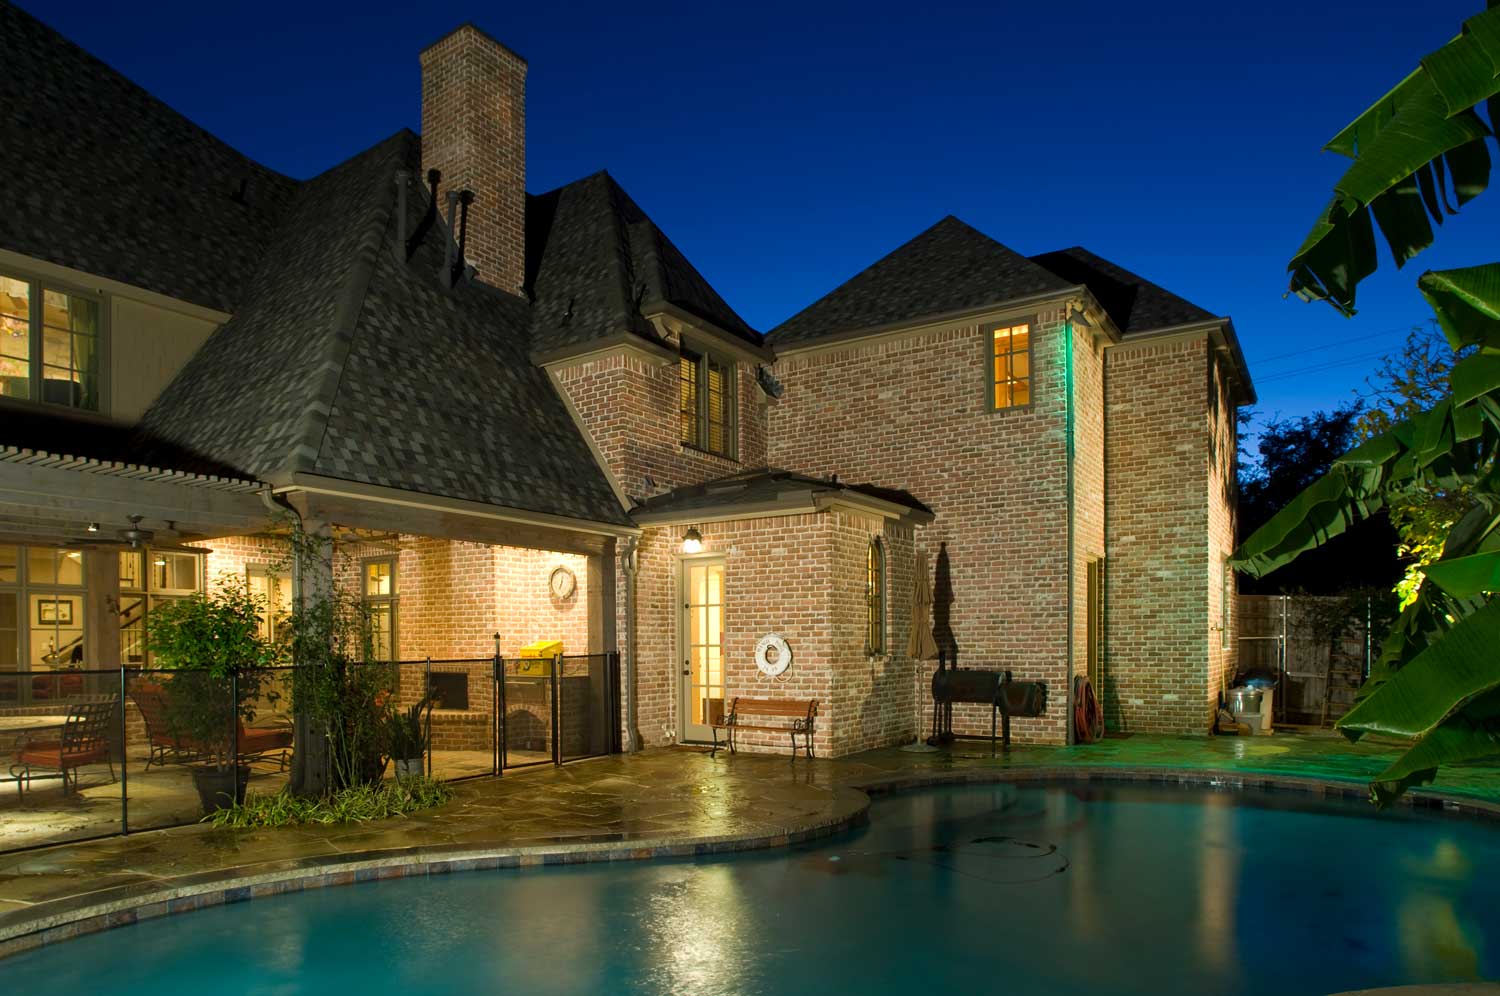
On the exterior, our research enabled us to find the original manufacturer for the existing brick, so the new brick was an exact match.


INNOVATIVE USES OF MATERIAL AND METHODS OF CONSTRUCTION
USED IN THIS PROJECT
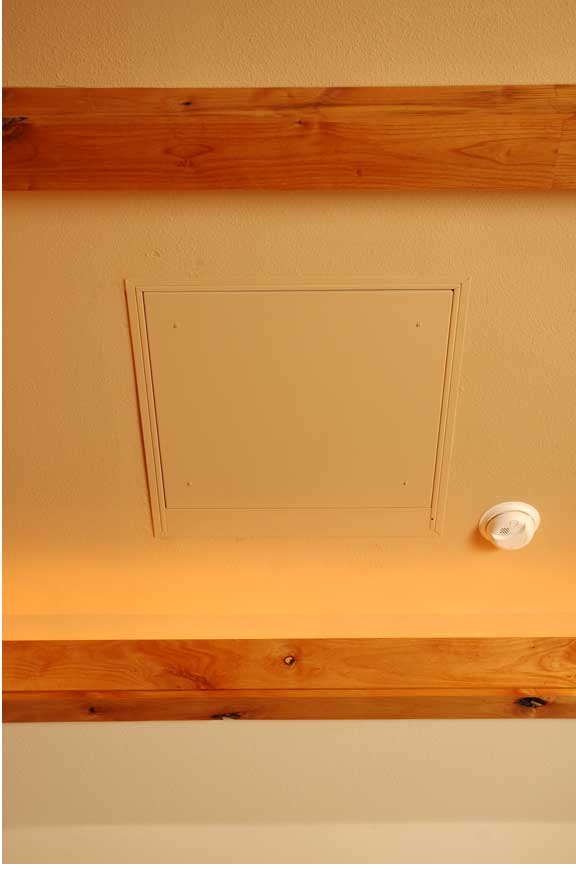
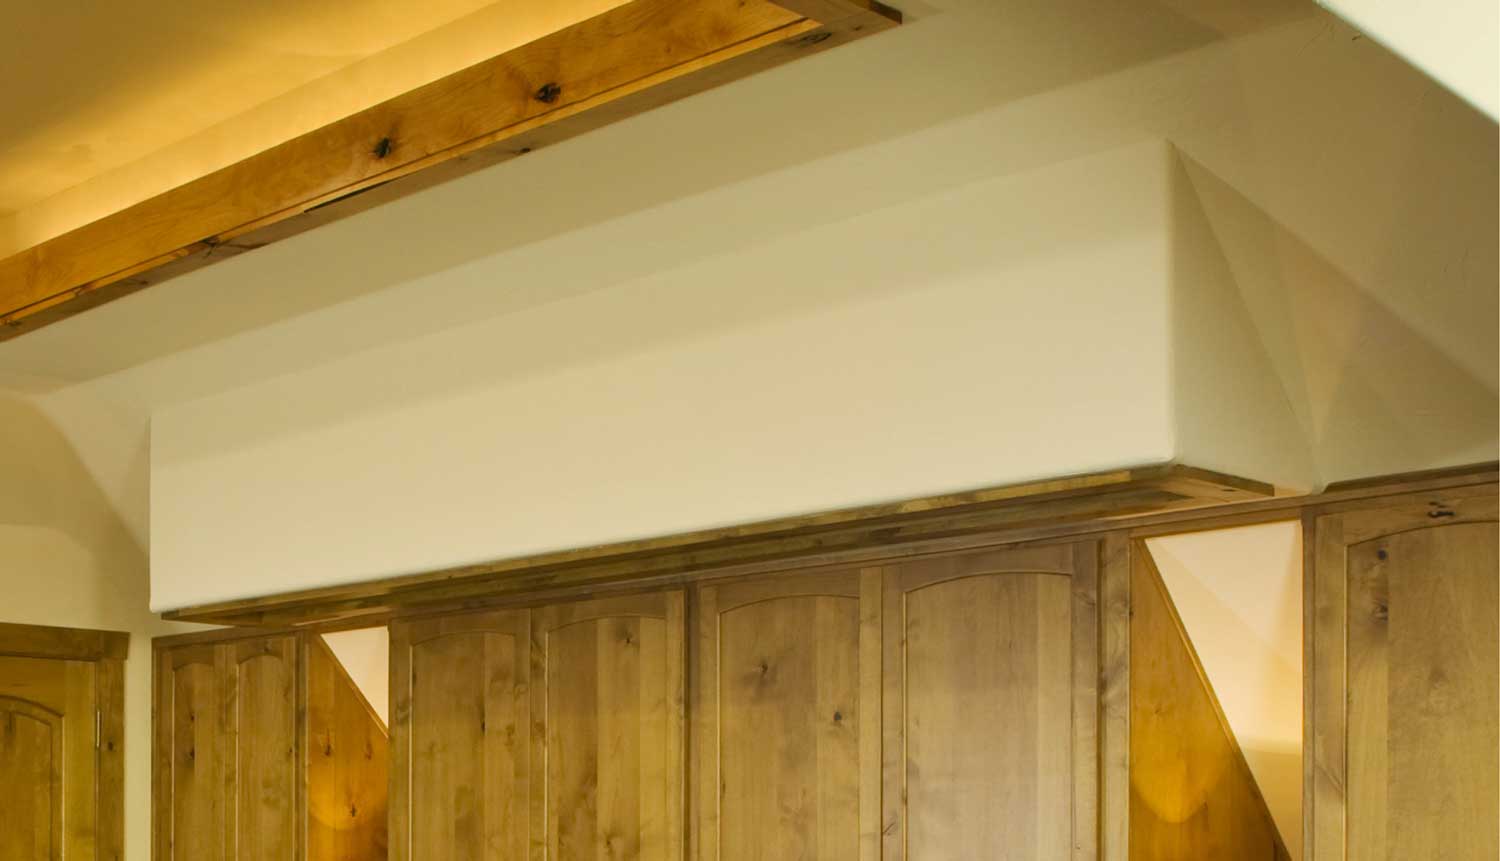
To address the owners wish to have the room feel more like a family room, we had the projector and screen synchronize and retract up into the ceiling, out of sight. Since we were required to maintain a preset distance between the projector and the screen, this made it challenging to achieve symmetry between the projector and adjacent ceiling beams. After numerous designs we achieved our goal by modifying the number of beams to achieve symmetrical spacing.
We designed and constructed a housing for the drop-down screen that hid it when not in use and kept with the Southwest theme by trimming in rustic alder.

OVERCOMING DIFFICULT OBSTACLES
The owners had the blueprints from when the house was built and our staircase was designed according to the dimensions on those drawings. The height differential between the floors was not known until the floor was removed for the staircase itself. It was then discovered that there was an additional 10” between floors. This required adding two more stair steps, but due to the constraints, the originally planned straight staircase would not fit. The owner just told us to “work it out” so we decided that the least expensive fix was to have the stairs take a ninety-degree turn at the bottom and we’d reconfigure the laundry room to work accordingly. The owner saw what we had done and said they still wanted the straight staircase, no matter what it took.
After extensive redesigning, we needed to raise the entire staircase ceiling four feet to achieve proper clearances. Note the location of the existing top of brick before raising the stair ceiling. The silver lining was we were able to add a window at the top of the stairs to allow more natural light to enter.
Even though the expense was greater to raise the ceiling, the straight stairs enabled a more open layout in the laundry room, keeping with the initial design requirement.


BEFORE & AFTER PHOTOGRAPHS



Looking for the top-of-the-line remodeling company?
Call award-winning Blackline Renovations. Start a Conversation
4849 Greenville Ave., Suite 1330
Dallas, TX 75206
(214) 827-3747
Hours:
Mon-Fri: 9am – 5pm
Sat & Sun: Closed
